Repotting Houseplants Tips
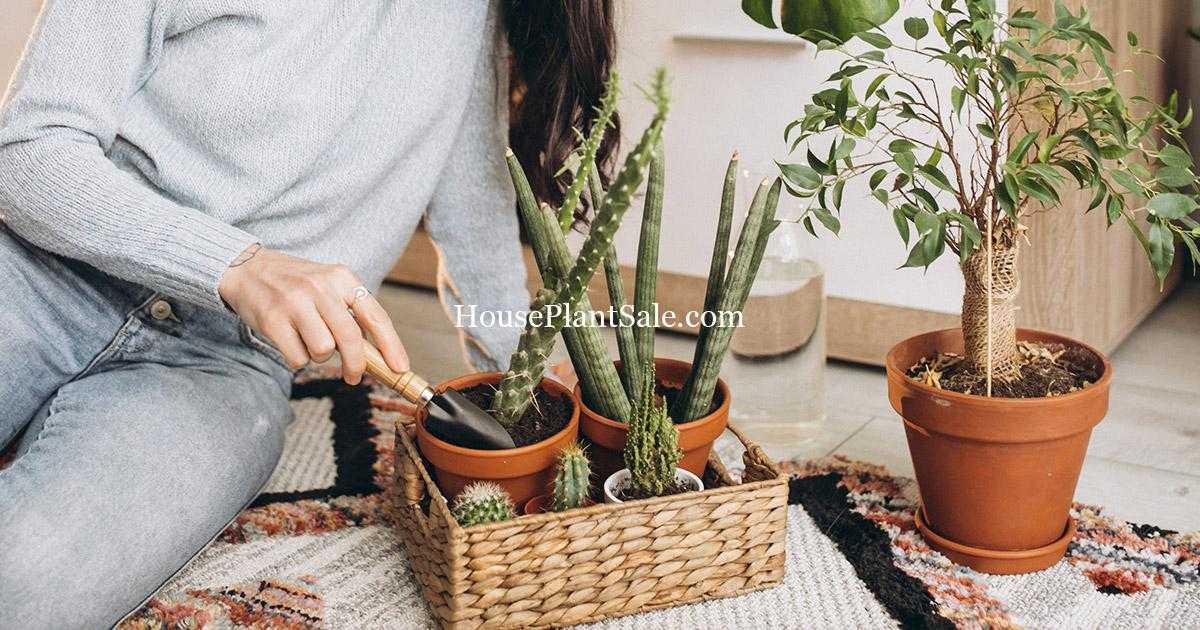
Repotting Houseplants Tips: “Move over, tiny pot, I’m upgrading to a deluxe suite!”
Our Repotting Houseplants Tips are essential! You most know the best tips about repotting your plant into a larger pot. It will become necessary as your houseplant or indoor plant grows, and the roots either begin to grow through the drainage holes or become pot bound.
The best time to repot your house plant is in the spring when they are actively growing roots and have enough time to grow into the newly added potting mix.
Follow these few steps when deciding to repot your indoor plants:
Tips for Choosing a Container
If you’re moving your plant into a new container, pick a pot that’s at least 1 to 2 inches larger and deeper than the current container.
If you choose a container that has dimensions more significant, before the plant itself can begin to grow, the roots will need to grow into the pot.
The advantage of choosing a plastic container is that it is lightweight and more comfortable to move around than a clay pot when the potting mix and plant is added.
Clay pots are less likely to fall, reduce water-logging, and salt buildup. Clay pots tend to pull water and soluble salts from the potting mix. For these reasons, plants in clay containers will need to be watered more often than plants in plastic containers.
Choose a container with drainage holes so that the excess water can drain, a plant in a pot without drainage is much more susceptible to root rot and damage or death from overwatering.
Tips for Choosing The Right Soil
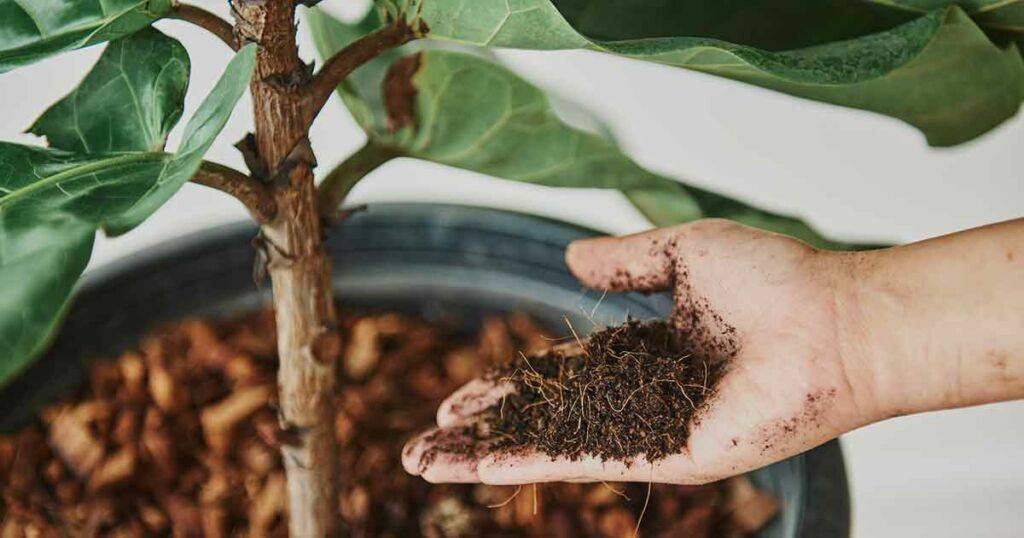
These soilless potting mixes resist compaction and absorb moisture very well, but these mixes dry out quickly. Soilless potting mixes do not contain nutrients; therefore, you must provide your plants with a consistent supply of fertilizer. One advantage of a soilless mix is that it is sterile, so there is no chance of introducing pest or disease problems.
After choosing the appropriate container and potting mix, you can begin the repotting process.
The plant’s growth becomes restricted when a plant gets too large for its pot, and the roots circle inside the container.
If your plants seem to dry out quicker than they used to but are otherwise healthy, they are probably pot -bound.
These are signs that your houseplant is pot-bound:
First, check the water frequency of your houseplant.
• Does the potting mix dries out quickly?
• Are the plant roots growing through the pot’s drain holes?
• Does it appear that the stems and foliage have stopped growing or slowed down even after fertilizing regularly during spring or summer?
If the answer is yes, remove the plant from the container and examine the roots.
If you discover that your plant is pot-bound, here are few options:
First, decide whether you want your plant to stay at the current size or if you want your plant to continue to grow.
If you want your plant to remain at the current scope, you will need to remove the plant roots’ outer section, return the rootball to the container, add new potting mix to the sides of the container, and cut the plant’s top growth.
If your goal is to let the plant grow more abundant, get ready to repot it.
Preparing the New Pot
If the container was used previously or is new, make sure to clean it before you start.
If you are using a new clay container, you will require to soak in water overnight. This will help the container from soaking up any moisture from the potting mix when the plant is first repotted.
Cover the draining holes with a paper towel, coffee filter, or place a few pieces of a broken clay container to allow water to pass through. This allows the excess of water to drain through the hole but prevents the potting mix from doing so.
Preparing the Plant
To prepare the plant, water the plant in its original container and let it sit for one hour before repotting, your plant will come out of its old pot more quickly if the rootball is moist and this will help it maintain its health even if it loses a root or two during the repotting.
The rootball is the part made up of roots and soil that extends into the actual pot and often keeps the shape of the container after it’s removed.
Prune the rootball and expose fresher roots to the new soil by removing some of the old rootballs. Clip roots that seem unusually thick, hang below the rootball, and roots that make three or four slits at the bottom of the rootball.
If the rootball is black or smells, your plant might have a fungal disease and might not be able to save it or repot it.
Repotting the Plant
You’ll first want to add some dirt to the pot to give your plant a place to sit.
Place your plant in the new container and put soil into the pot around the rootball.
You can either “stuff” or “fill” when you’re adding new soil to the pot. “Filling” means pouring soil in, around, and on top of the rootball.
“Stuffing” involves pouring the new soil in and pressing the soil down. To keep top-heaving plants steady and even, “stuffing” the pot will help.
Don’t overfill the pot – Leave an inch of space between the potting mix and the top, so there is room for water and additional plant growth.
Once you have completed the reppoting process, water the plant’s roots so it can help the plant soak up the nutrients from the soil.
Once the soil settles, you might need to add more soil to fill in empty spots. For best results, keep the plant out of the sun and high humidity after repotting. Don’t fertilize it immediately, either.
Share Article
No products in the cart.
Ready, Set, Grow: Plant Subscriptions Ready for Adventure
Choose month-to-month, 3 or 6-month prepaid plans, or dive into a year of leafy wonders & big savings.
Latest articles
January 19, 2026
January 19, 2026

